eclipse 3.5 (Galileo) - P2 Auto Update
1. Project 생성
1.1. File > New > Project > Plug-in Development > Plug-in Project 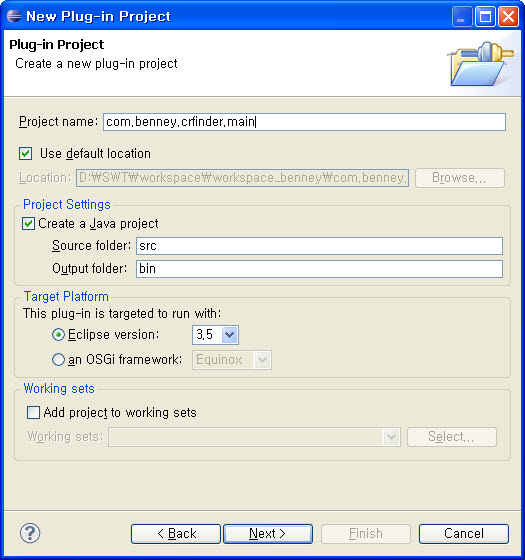
1.2. Project Name : com.benney.crfinder.main
1.3. Rich Client Application 여부를 "Yes"로 한다.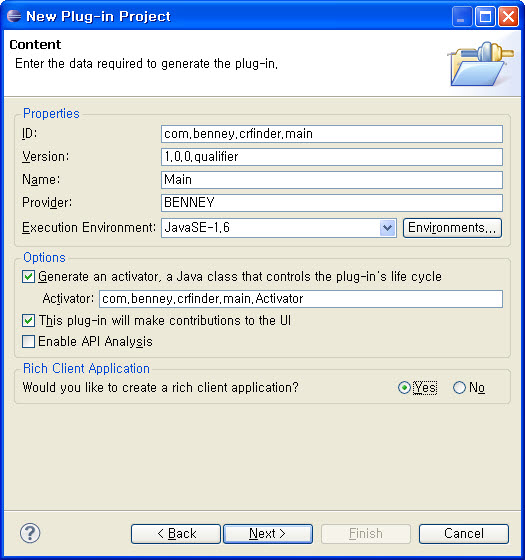
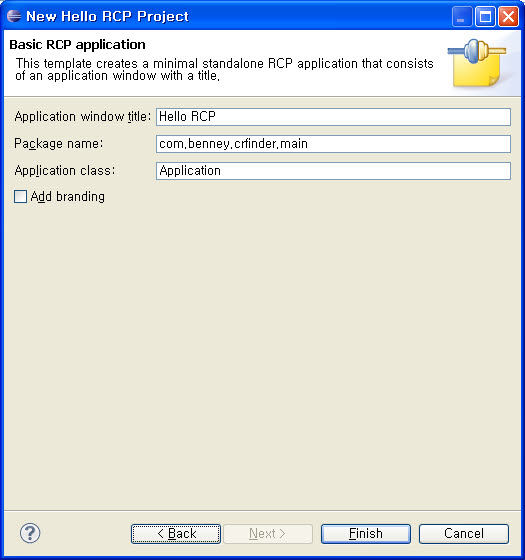
1.4. Next > Hello RCP > Next
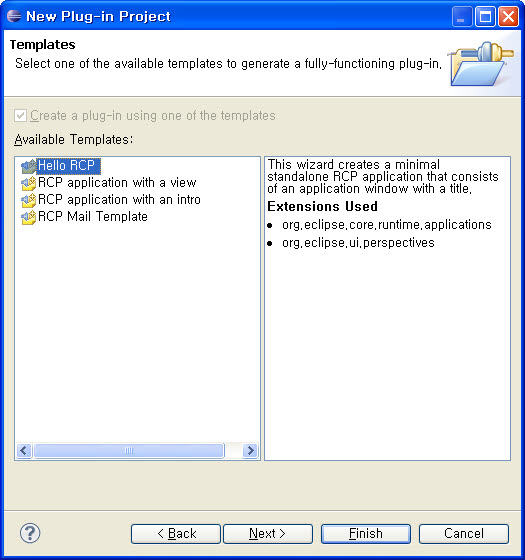
1.5. Add Branding에 Check > Finish
2. Plug-In 설정
2.1. Project가 생성되었다. 이후 자동업데이트와 도움말에 관련된 Plug-in을
Dependencies에 추가한다.
- org.eclipse.equinox.p2.ui.sdk / Update 관련
- org.eclipse.help.ui / 도움말
- org.eclipse.help.webapp / 도움말
4. 실행해보자.
4.1. Run As > Eclipse Application

5.Product Configuration 생성하기
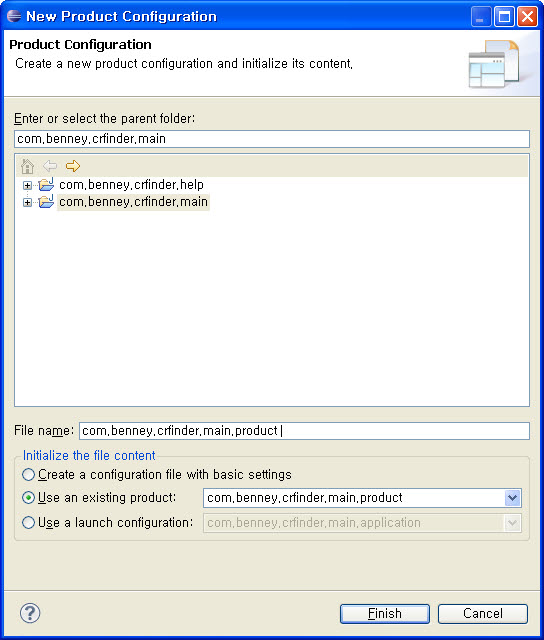
5.1. File > New > Plug-in Development > Product Configuration:
5.2. com.benney.crfinder.main.product 라는 이름으로 Product를 생성한다.
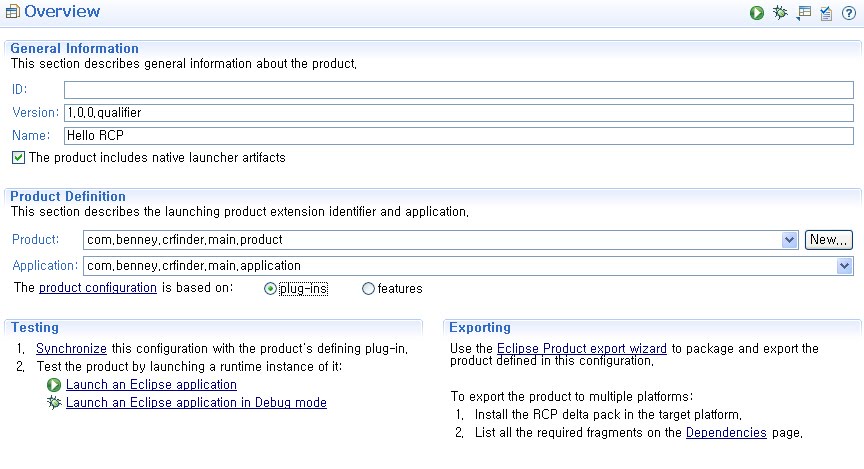
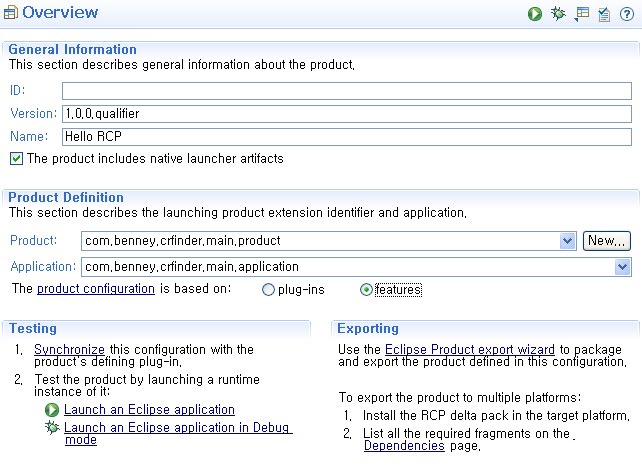
5.3. OverView 내의 Product Definition > plug-in을 feature로 변경한다.

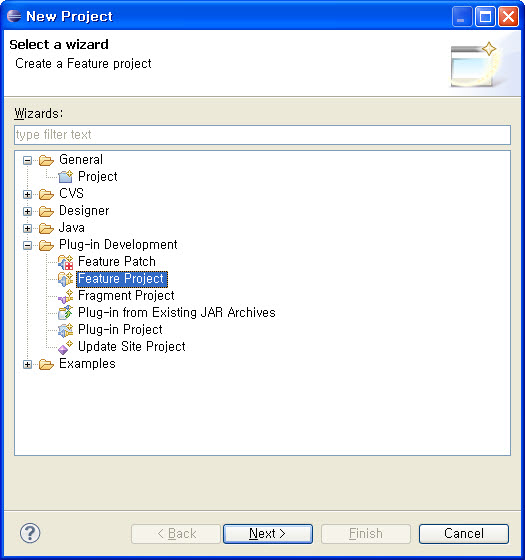
6. Feature Project 생성
6.1. File > New > Project > Progin-in Development > Plug-in Project > Next
6.2. Project name에 com.benney.crfinder.main.feature를 입력하고 "Next"를 클릭한다.

6.3. 포함할 Plug-in을 선택해 준다. 여기서는 "com.benney.crfinder.main"을 체크한다. "Finish"를 클릭한다.
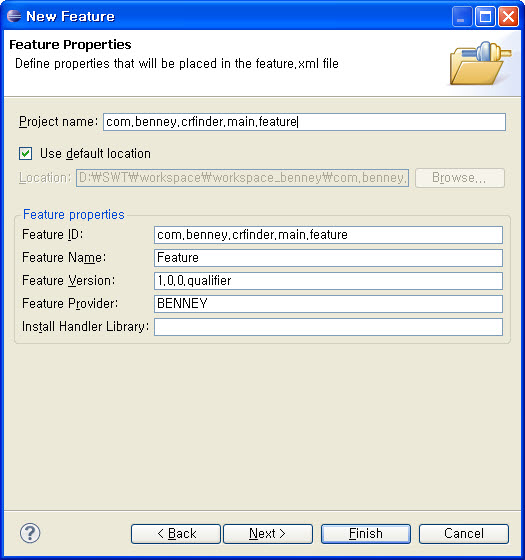
6.4. Feature Project 가 생성되었다.
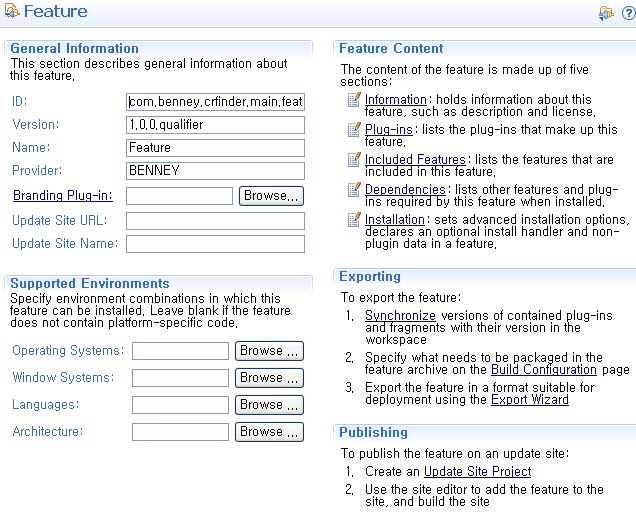
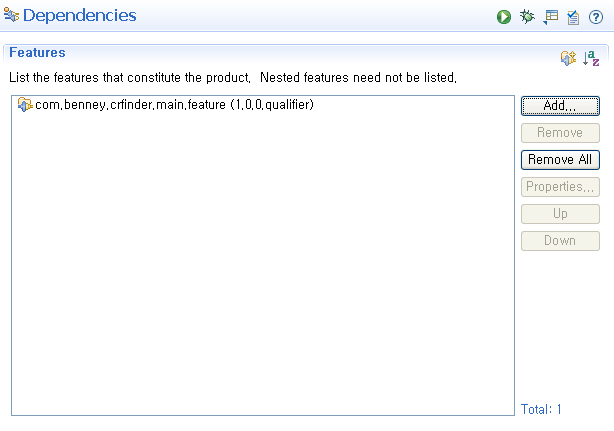
6.6. 기존 생성된 Product com.benney.crfinder.main.product의 Dependencies에 위에서 생성한
Feature를 추가한다.